

Today, it is a real rarity to post a photo on the social network that is not edited, whether it is light intensity, photo rotation, color saturation, or even complete retouching in which girls remove wrinkles and irregularities from their bodies and emphasize curves. To get the desired effect, you do not have to buy a professional program such as Photoshop, which otherwise costs a few thousand dollars. There is a free image editor on the Internet with many options that do not even require you to register. Below you can read how to edit an image in a few simple steps.
Learn to pose
A smile is the most desirable part of any good photo. The parts of the body closer to the camera will look bigger than they really are. Avoid taking photos from too close. Tell the person taking the picture to photograph you slightly from above. This will force you to raise your head, open your eyes wider and correct your posture – which are the three ‘ingredients’ of any good posing.
Find the right app or program

Yes, Photoshop is the most famous photo editing program, but not everyone knows how to work on it. In addition, we have already said that it is not even necessary because there are many mobile applications that do the job quite well with much less effort. And money, of course. The first task is to find an application or program that meets your criteria. Always read the reviews, the ones that speak best about it. On DVDFab Photo Enhancer AI you can learn more about the best photo enhancers.
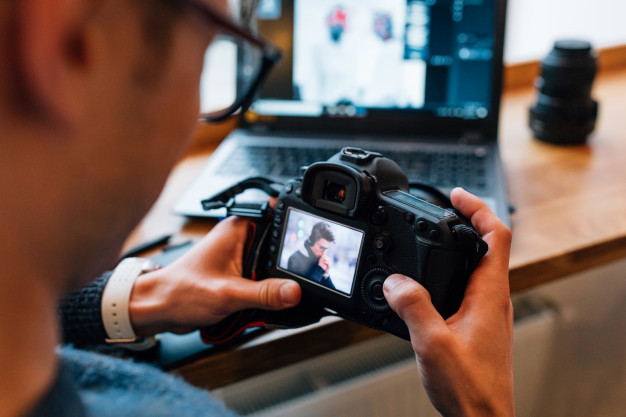
Upload the photo

Now when you made a final decision, you can start with editing. The first thing you will have to do is to upload the photo you want to edit. The vast majority of cameras on mobile phones and cameras have fairly wide lenses. This means that they will shoot a large field and such shots are fine when you want to capture as wide a frame as possible, say inside or if you are shooting nature. However, in most cases, in order to get attractive shots, you will need to crop the excess, that is, cut off everything you don’t need.
Exposure to images

Each smartphone also has brightness-contrast options in its photo editor. It often happens that when taking a photo, your camera does not “catch” enough light, so the image is quite dark. The same happens if you paint directly in the direction of the sun or an artificial light source. Play with the brightness, contrast parameters, but be careful not to over-tighten the photo as you will get a counter-effect.
Blur and sharpening

These two options are almost inevitable with any edit. They will blur what is in the background and emphasize what is needed. Focusing on the image will significantly affect its quality.
Final touch
Now that you have done all this, we come to the last step, and that is applying the filter. Simply select the effect and change the image with one click.
Editing a photo is very simple, and the effect is amazing. There is no advertisement in which the actor or even the advertised product is not a little “embellished”. Just look at the celebrities who look flawless in the photos, and many times we have been convinced that in real life they also have a few pounds of excess and a little wrinkle on their face. All for beauty, right?
What should I pay attention to when taking pictures?
It is not enough to just stand in front of the lens and take a picture. Not if you want quality photography. We will reveal to you the little secrets of great photographers.
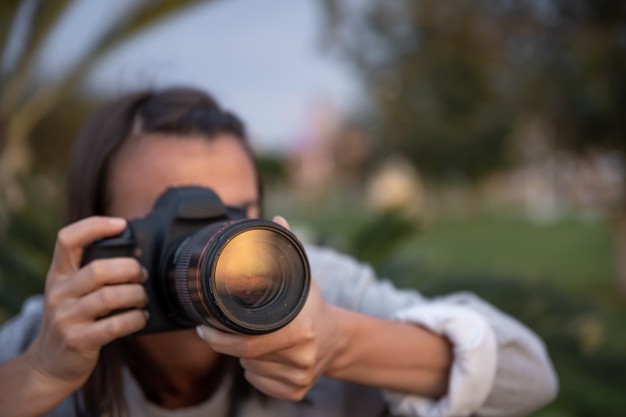
- Clean the lens of your device. This is something we often overlook but it is just as important as other things. The cleanliness of your device’s camera lens also determines how good a photo will be or how low it will be. Since our devices are very often in our bags or lens pockets, just like whole devices, they can get dirty very easily.
- Location, location, location. This is a very important factor. The world around us is truly an inexhaustible place of great locations for photography. Still, it is best to capture the moment where there is enough light to make the photo as high quality as possible. It is recommended that the brightness stays behind the photographer so that visibility in the image is better. The city center is always an interesting place to take photos. Some colorful narrow streets, tree-lined avenues, old or modern, interesting doors. Spring and autumn are somehow the most photogenic seasons, full of color.
- The time of day is very important. Why? We come to the light again. If the camera is facing the light, the image will be too dark, if the light is behind the photographer, it is very likely that the person posing will not be able to stare at the lens and that his eyes will water. So cloudy weather is a better option because then there are no sharp shadows. Have you heard of the term pay hour? This is a short period of 15 minutes before and after sunset. These photos are considered the most romantic.
- Take multiple photos in a row. Yes, we know you need one picture, but chances are you’ve captured the perfect moment if you’ve photographed multiple times. When shooting repeatedly, pay attention to what your device is focusing on.
Final thoughts
With these little tricks, your images will look perfect without even noticing that you have edited them. In any case, do not overdo it with the use of effects and changing the photo, the essence of these applications and programs is to improve it, and not to make the person on it unrecognizable. And remember, the best photos are those where you are sincerely smiling.