
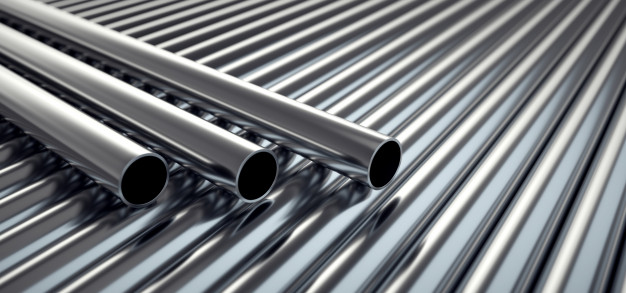
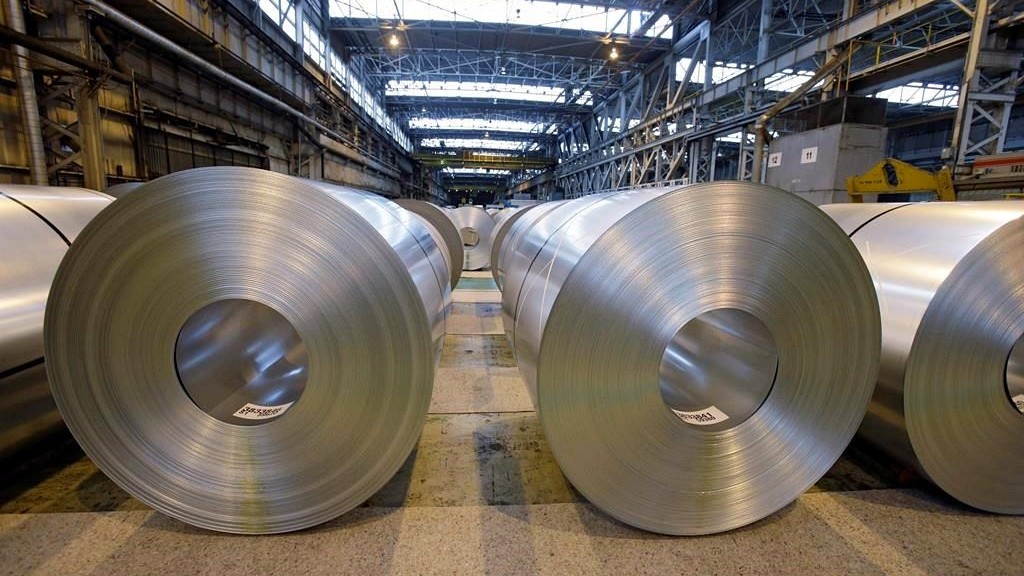
Stainless steel is of the most commonly used materials in many different industries for its remarkable resistance to corrosion and overall toughness and durability. It is a lot better option compare to other metals and alloys which tend to break or fail in aggressive conditions in which stainless steel is often used.
What is stainless steel?
As with any other, stainless steel is its essence a mixture of iron and carbon. What makes it different from all the others is the fact that it is also mixed with chromium. Chromium is added to the mix to make the alloy less susceptible to oxidation and there has to at least 10% of it in the mix. What chromium creates is what is called a passivation layer. A layer that protects the interior of the alloy from oxidizing and also serves as a regenerative agent in case the surface of the alloy is scratched.
The so-called passivation layer is not the same as plating, that has to be said. Plating is an outside layer and is usually done with materials like zinc, nickel, or chromium – but it only provides outside surface protection. That means if the surface or coated layer is scratched or in any way damaged – the benefits of it are lost. However, once you add chromium to the mix, it offers a lot more than just surface protection. It protects the alloy from the inside out.
How is it made?
How stainless steel is made is what we’re interested in. There are two main methods as to how one can make stainless steel – it can either be cast or wrought. The main difference lies in how the metal alloy takes its final form. When casting, liquid metal is poured into a pre-existent mold in the shape of the final product. Casting is a method used to produce complex shapes, otherwise nearly impossible to make. The process of casting can be somewhat difficult to comprehend, so we’ve decided to give you a few tips and guide you through the whole casting process, so you can easily understand it.
1. Mold preparation
The first part of the casting process lies in preparing the mold in which the liquid metal will be later poured in. Molds are designed and produced in the shape of the product that’s about to be made. As you can probably assume, molds can’t be made in one piece when it comes to complex shapes. They usually come in pairs – or two sides of the same mold. They’re called concave molds. Once put together, the cavity of the mold assumes the shape of the final product.
In most cases, they’re made out of industrial wax. You can also use foam or plastic, but wax is the preferred choice for many companies like dawangcasting, because it’s inexpensive, lightweight has a low melting point which makes it easy to melt and reuse for another stainless steel casting process.
After the molds have been made, they undergo an inspection process, to make sure everything is just the way it’s supposed to be, without any errors. Those who pass the inspection are then being stuck onto a sprue. Upon adding several wax molds onto it, the model resembles a tree, which is why this process is called tree assembly.
Once assembled, the tree is painted with industrial glue, which allows for silica sand that’s about to be sprayed all over it to stick to the mold. The sand is used to make sure the surface of the mold is as smooth as possible. Once that is done, mold is left out to dry for about 6 to 8 hours and then the process is repeated – usually about 3 to 7 times which makes the mold making process last about 3 or 4 days.
2. Sand shell making and dewaxing
Once the preparation is done, it’s time to melt the wax and end up with a sand-shell, which is the mold in which the liquid steel is going to be poured in. First up, the model needs to be prepared for baking by being coated with industrial latex.
Once the coating is finished the wax model is put in a special oven for baking. As we’ve previously mentioned, the melting point of wax is quite low, so at about 150 degrees Celsius, the wax starts to melt and we’re left only with an empty sand shell. Once the wax has melted, the sand shell is baked one more time, only this time at a really high temperature (about 1000 degrees Celsius), so it becomes more solid and strong before being filled with liquid, hot metal.
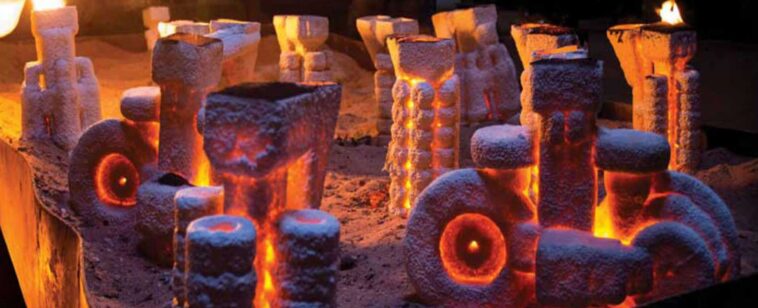
3. Pouring
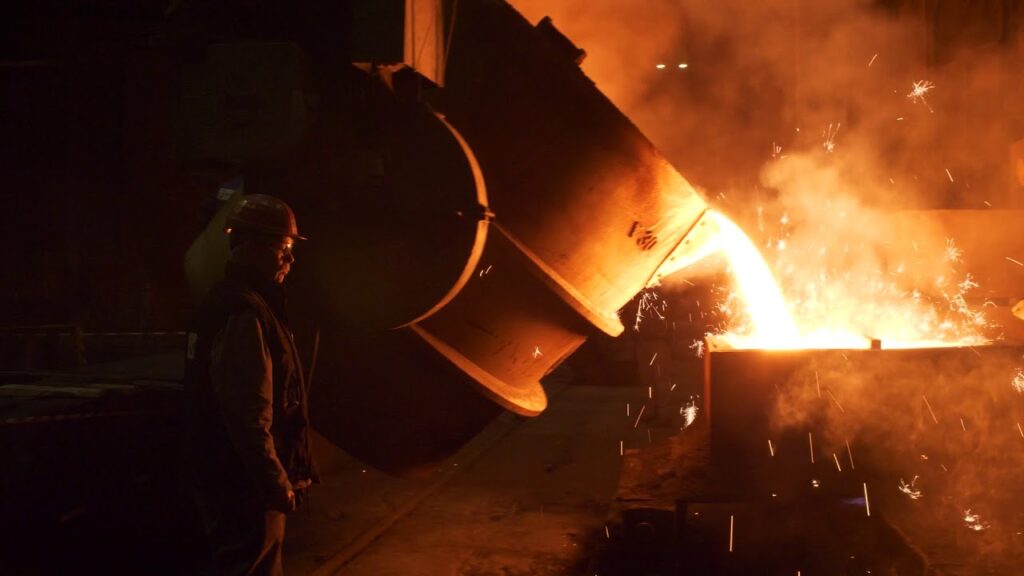
While still hot, the sand shell is being transferred to a compartment where the pouring is about to happen. It’s paramount to have the shell still hot because that way you ensure that the liquefied steel flows freely through the whole cavity. It’s important for metal to fill every little crevice of it, otherwise, the whole process up to this point was meaningless.
Also, because physical items shrink and expand in extreme temperature conditions, it’s important to avoid the sand shell contracting during the cooling process, which would also defeat the purpose of the entire casting process. Even though the process feels and looks rough, it’s extremely intricate and detailed and any error, no matter how small, is not tolerated.
4. Cooling and breaking the mold
Once the stainless steel has cooled and solidified in the desired shape, the sand shell is then broken. This is done by hand, with the help of a hammer or other mechanical tools. Once the casting shell is broken, you’re left with stainless steel casting which is then separated from the ‘tree’ into individual parts. Those parts are then polished and inspected for any defects.
5. Inspection
Once separated, the individual parts are tested and inspected for any defects like sand or gas holes. Minor defects can be repaired by welding, but in case of serious errors, the parts are cleaned and returned to the furnace to be melted again.
Conclusion
As you can see, the casting process is an intricate and complex one. It takes several days for a final product to come to fruition. In addition to this one, there are other casting methods, but most of them are quite similar to the one we’ve guided you through.