
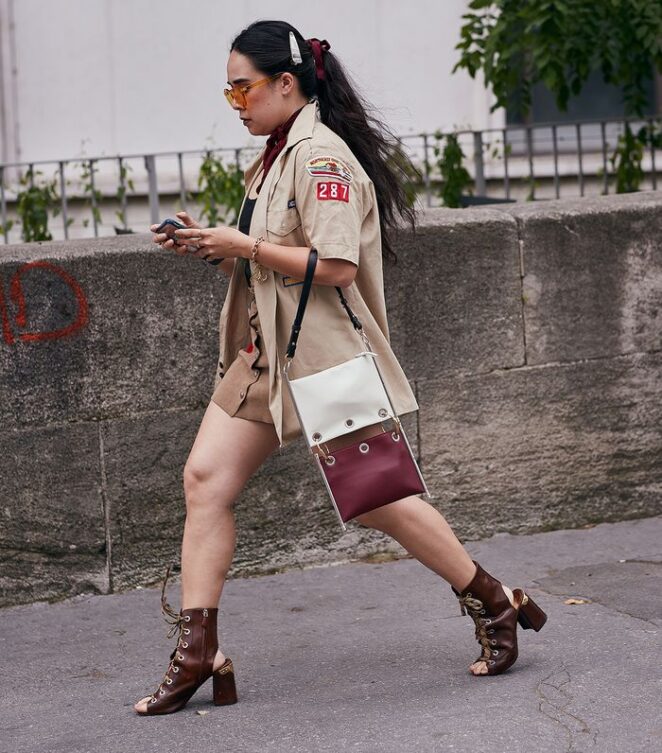
Patches have made a huge resurgence in recent years, and even the most famous of celebrities are donning them in their clothing. Whether you’re an avid crafter or just looking to try out this sleek trend for yourself, we’ve got all the information here for you. Read further if you want some tips on how to give your favorite garments or bags a touch of glamor with trendy patches.
Pick Your Patch
With the immense amount of patches available, it’s like discovering a needle in a haystack. Do you desire one depicting your love for pizza or even your beloved pup? You can find almost any patch out there.
Shopping for a patch with your style and personality in mind is the fun part; however, you’ll also want to carefully contemplate what kind of patch you’re buying. Patches have an extensive variety of fabrics available, which can drastically affect how they are applied as well as what material types they work best on. Ultimately, it’s totally up to you if making the application process effortless or more complicated – just pick the right type of patch.
Use Iron-on Patches
Working with iron-on patches is simple and straightforward, perfect for those who need quick results. From stores to online websites, these types of patches are easy to find, featuring an exquisite design on the front side that’s usually embroidered while having an adhesive material protected by paper at the back. Ready in no time when your iron is hot enough – you can’t go wrong.
Visualize it as a sort of decal that you can attach with ease to your jeans or backpack—all it requires is some heat.
Go to the Printable Transfer Route
If a more laborious process is what you are looking for, then a printable transfer may be the option for you. It’s generally like an iron-on patch, but with paper as opposed to fabric and it requires some additional items: the print out of your desired image/design, heat transfer paper, and lastly patience! With all these elements combined together though – no doubt you will finally have that perfect piece of clothing adorned in whatever mystical design or motif that has been catching your eye.
Make Your Own Patch
For those who are more seasoned in crafting or feeling eager to try something new, adding DIY patches to the project can add a whole other layer of fun and satisfaction. Crafting these patches is straightforward; all you need is fabric such as felt, fusible webbing, and an idea for your design. Have trouble finding the perfect patch? Don’t worry! Shop here for just what you’re looking for.
Decide Where You’ll Put Your Patch

Choosing the perfect patch is only half of it – now you must decide where to place them. Remember, not all patches are suitable for every fabric or surface, so here are a few tips to keep in mind before getting started:
- Iron-on patches won’t adhere to leather materials.
- When working with patches applied by heat, caution should be taken when dealing with substances such as nylon or other highly combustible materials.
- Carefully consider the number of times you plan on washing your item; patches are not likely to withstand countless rounds in the washing machine.
Methods for Affixing the Patch
Crafting is an ever-evolving, popular business trend. In the U.S., it made up nearly $44 billion in 2018 alone! If you’re not a DIY guru yet though, patch projects may have felt intimidating – even something as simple as ironing on a patch could be daunting. Fortunately, there isn’t just one way to go about this task so newbies don’t need to worry! Select which type of patch and application style makes you feel most comfortable — whatever works for you.
Glue It
Patching clothing has never been simpler – no sewing or heat transfer is required! All you need is a fabric glue to adhere your favorite iron-on patch to denim, canvas, and other suitable materials. Although this may not be the most durable application available, it’s an incredibly swift and straightforward way of adding patches to hats and caps. So don’t wait around any longer – there’s nothing stopping you from patching all your clothes immediately.
Sew It
Sewing is a great way of ensuring iron on patches remains in place. After using an iron, many people opt to hand-stitch the patch for extra reinforcement. Moreover, sewers can use a variety of stitches to create unique outlines and design elements around their patch – adding that special touch.
Instead of using needle and thread, you can rely on a sewing machine to apply patches–particularly if they are thicker. The process is much faster with a skilled hand at the helm and requires mindful consideration when it comes to selecting the right stitch type based on patch size, material makeup, as well as where it’s being applied. For instance, zigzag stitching proves particularly successful for embroidered patches.
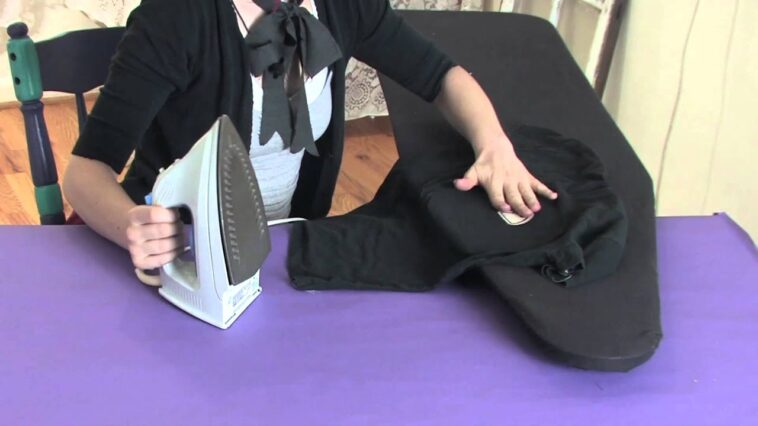
Grab Your Iron

Ironing patches onto clothing is a surprisingly straightforward process – all you need to do is get your hands on iron or borrow one if you don’t already own one. However, unlike gluing or sewing them, there are certain safety measures that must be taken when it comes to using an iron; irons can reach extreme temperatures and the adhesive backing of the patch will also get hot during application.
Before you begin your project, it is sensible to preheat the iron to an appropriate temperature. The high cotton setting usually works best for this task. After positioning the patch in place, you should add a buffer between your fabric and the hot iron; using either a towel or paper will do! With that extra layer of protection beneath the iron, press down firmly on top of it for 10-15 seconds before letting both adhesive and patch rest for several minutes – then your garment is ready to wear or be used.
Get Inspiration for Your Next Project
Ready to revolutionize your denim ensemble with a fashionable patch? After you acquire the necessary skills on how to attach patches onto clothing and bags, stay tuned for additional trends and DIY ideas by reading our online magazine. We are constantly seeking out fresh lifestyle news and advice just for you.